THE BEST CHEWY CHOCOLATE CHIP COOKIES | Ultimate Recipe Guide
The Ultimate Guide to Perfect Chewy Chocolate Chip Cookies
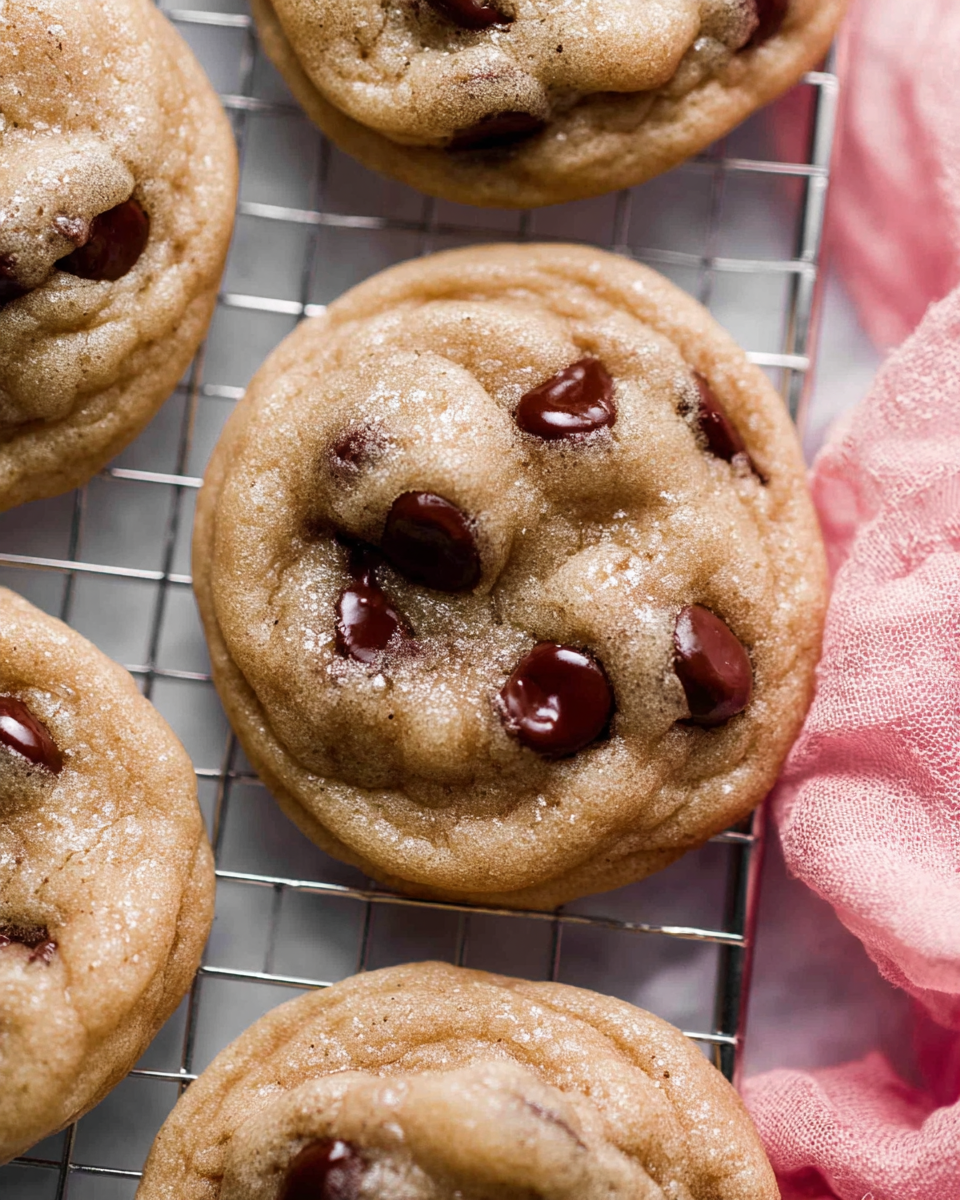
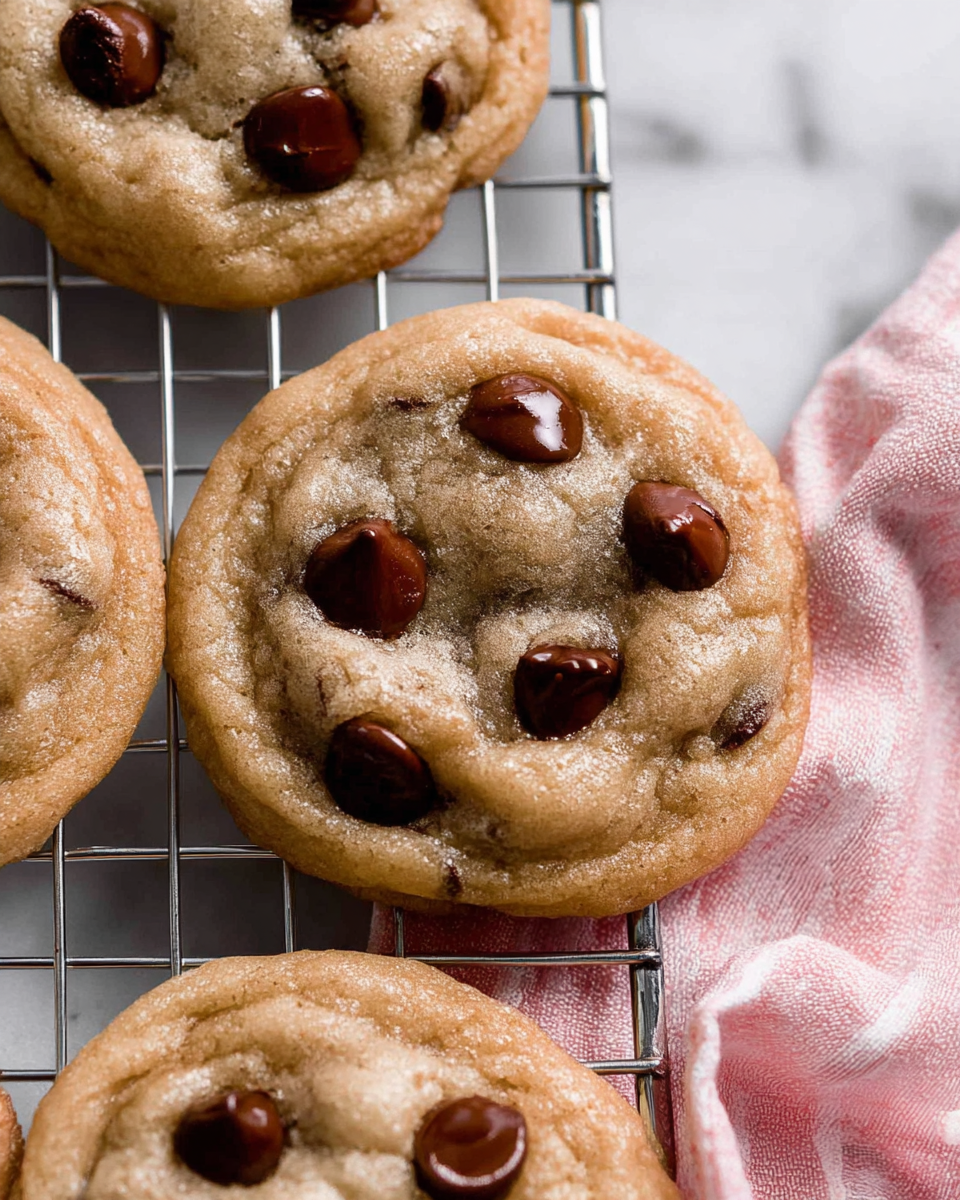
There’s something truly magical about a perfectly chewy chocolate chip cookie. That moment when you bite into a warm, soft cookie with melty chocolate chips and just the right amount of chewiness – it’s pure bliss. After years of testing and perfecting, I’ve discovered the exact formula for creating THE BEST CHEWY CHOCOLATE CHIP COOKIES that will become your new go-to recipe.
Why These Are the Ultimate Chewy Cookies
What sets these cookies apart from all others? It’s the perfect combination of melted butter, cornstarch magic, and precise chilling techniques. Unlike traditional recipes, this version uses melted butter instead of creamed butter, which creates a denser, chewier texture. The addition of cornstarch gives them that bakery-style softness that lasts for days, while the extra egg yolk adds richness and moisture.
These cookies have become legendary among my readers and even earned a spot in my New York Times best-selling cookbook, Sally’s Baking 101. They’re the perfect balance of soft and chewy with just enough structure to hold their shape beautifully.
The Science Behind Perfect Chewiness
Creating the perfect chewy texture involves understanding the science of cookie baking. The ratio of brown sugar to white sugar is crucial – brown sugar contains molasses, which attracts and retains moisture, giving cookies their signature chew. The melted butter creates a different chemical reaction than creamed butter, resulting in a denser crumb structure.
Cornstarch acts as a tenderizer, preventing gluten development and keeping the cookies soft. This is the same secret that professional bakers use to create those pillowy-soft cookies you find in high-end bakeries. Combined with proper chilling, these ingredients work together to create cookie perfection.
Essential Ingredients for Chewy Success
Every ingredient in this recipe plays a specific role in achieving that perfect chewy texture. All-purpose flour provides the structure, while baking soda ensures proper rising. The combination of light or dark brown sugar with granulated sugar creates the ideal moisture balance. Using both a whole egg and an extra yolk adds richness without making the cookies cakey.
Pure vanilla extract enhances the flavor profile, and high-quality semi-sweet chocolate chips or chunks provide those irresistible chocolate pockets. I recommend using chocolate chunks for extra melty goodness, or if you’re feeling adventurous, try mixing in some dark chocolate chips for a more sophisticated flavor.
The Critical Chilling Step
One of the most important steps in this recipe is chilling the dough. I cannot emphasize this enough – DO NOT skip the chilling step! The dough needs at least 2 hours in the refrigerator, but I highly recommend chilling it overnight for best results. This chilling period allows the flour to fully hydrate and the flavors to develop deeply.
Chilling also prevents the cookies from spreading too much during baking. The cold dough takes longer to melt in the oven, giving the outside time to set before the inside spreads. This results in thicker, chewier cookies with perfectly set edges and soft centers.
Perfect Baking Techniques
Baking at 325°F (163°C) is lower than many traditional cookie recipes, but this slower baking process is key to achieving the perfect texture. The lower temperature allows the centers to cook through without over-browning the edges. When you remove the cookies from the oven, the centers will look underdone – this is exactly what you want!
The cookies continue to cook on the hot baking sheet for 10 minutes after coming out of the oven. This residual heat finishes the cooking process without drying them out. The result? Perfectly chewy cookies with soft centers and lightly browned edges.
Pro Tips for Cookie Perfection
Here are my professional baker secrets for taking these cookies to the next level:
- Use a kitchen scale for measuring ingredients – accuracy matters!
- Let chilled dough sit at room temperature for 15 minutes if it’s been refrigerated longer than 2 hours
- Shape the dough into tall cylinders rather than round balls – this creates thicker cookies
- Space cookies 3 inches apart on the baking sheet to prevent spreading
- Press extra chocolate chips into the tops while cookies are still warm for bakery-style presentation
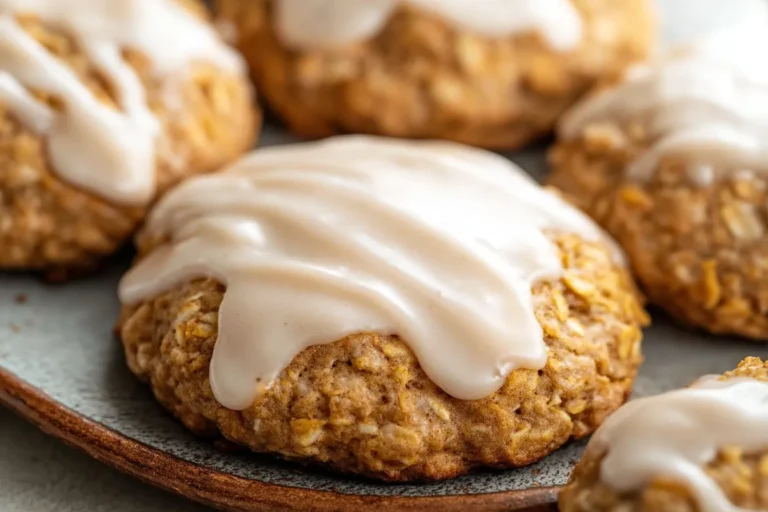
If you love experimenting with different cookie textures, you might also enjoy our Irresistible Cinnamon Roll Cookies for another cozy baking adventure.
Troubleshooting Common Cookie Problems
Even with a perfect recipe, sometimes things can go wrong. Here’s how to fix common cookie issues:
- Cookies spreading too much: Your dough wasn’t chilled long enough or your baking powder is too fresh
- Cookies too cakey: You might have over-measured the flour or used room temperature butter instead of melted
- Cookies too crisp: Oven temperature might be too high or baking time too long
- Chocolate chips sinking: This is normal with melted butter recipes – just press extra chips on top after baking
Storage and Serving Suggestions
These chewy chocolate chip cookies store beautifully in an airtight container at room temperature for up to one week. For longer storage, you can freeze the baked cookies for up to 3 months, or freeze the dough balls for fresh-baked cookies anytime.
Serve these cookies warm with a glass of cold milk for the ultimate comfort experience. They’re also fantastic crumbled over ice cream or served alongside a warm beverage. For another delicious dessert pairing, try them with our Best Strawberry Shortcake Cake for a perfect summer dessert spread.
If you’re looking for more baking inspiration beyond cookies, our Million Dollar Cake offers another level of baking excellence that’s worth every penny of effort.
Why This Recipe Works Every Time
After testing countless variations, this recipe consistently delivers perfect results because every element has been carefully calibrated. The melted butter creates a denser texture, the cornstarch ensures softness, and the chilling process controls spreading. The balance of sugars provides optimal moisture retention, while the precise baking temperature and time create that ideal chewy-crisp contrast.
Whether you’re a baking novice or an experienced home baker, this recipe will become your new standard for chocolate chip cookies. The detailed instructions and scientific explanations help you understand not just what to do, but why each step matters. This knowledge empowers you to bake with confidence and achieve professional-quality results every time.
So preheat your oven, gather your ingredients, and get ready to experience chocolate chip cookie perfection. Your kitchen is about to smell incredible, and your taste buds are in for the treat of their lives!
The Ultimate Guide to Perfect Chewy Chocolate Chip Cookies
Ingredients
Equipment
Method
- In a large bowl, whisk the flour, baking soda, cornstarch, and salt together. Set aside.
- In a medium bowl, whisk the melted butter, brown sugar, and granulated sugar together until no lumps remain. Whisk in the egg and egg yolk until combined, then whisk in the vanilla extract. Pour into dry ingredients and mix together with a large spoon or spatula. Fold in the chocolate chips.
- Cover the dough tightly and refrigerate for at least 2 hours or up to 3 days. Chill overnight for best results to prevent overspreading.
- Preheat oven to 325°F (163°C). Line large baking sheets with parchment paper or silicone baking mats. If dough chilled longer than 2 hours, let it sit at room temperature for 15 minutes.
- Scoop chilled cookie dough (about 2-3 Tablespoons per cookie). Roll into a ball, then shape taller rather than wide—almost like a cylinder. Arrange cookies 3 inches apart on baking sheets.
- Bake for 13-14 minutes until edges are lightly browned (centers will look soft). Cool on baking sheet for 10 minutes before transferring to cooling rack. Press extra chocolate chips into tops while warm (optional).
- Store tightly covered at room temperature for up to 1 week.