Homemade Pizza Dough: The Ultimate Guide to Perfect Crust Every Time
There’s something truly magical about creating your own homemade pizza dough from scratch. The moment you mix flour, yeast, and water together, you’re embarking on a culinary journey that transforms simple pantry staples into the foundation of incredible meals. Whether you’re a seasoned home cook or just starting your kitchen adventures, mastering pizza dough is one of those skills that pays dividends in deliciousness for years to come.
I remember the first time I successfully made homemade pizza dough – the satisfaction of watching it rise, the wonderful yeasty aroma filling my kitchen, and the pride of serving my family pizza that I created from the ground up. That experience sparked a passion for homemade doughs that has only grown stronger over time.
Why Homemade Pizza Dough Beats Store-Bought Every Time
While convenience foods have their place, nothing compares to the flavor and texture of freshly made pizza dough. When you create your own dough, you control every aspect of the process – from the quality of flour to the exact balance of seasonings. This means no mysterious additives, preservatives, or artificial ingredients, just pure, wholesome goodness.
The texture alone makes homemade dough worth the effort. That perfect combination of crisp exterior and chewy interior that defines great pizza crust is something you simply can’t buy pre-made. Plus, the flexibility to customize your dough with herbs, spices, or different flour types opens up endless creative possibilities.
Essential Ingredients for Perfect Pizza Dough
The beauty of pizza dough lies in its simplicity. With just a handful of basic ingredients, you can create something extraordinary. Let’s break down what you’ll need and why each component matters.
Flour forms the backbone of your dough. All-purpose flour works wonderfully for a balanced crust, while bread flour gives you that extra chewy texture that pizza enthusiasts crave. The protein content in flour determines how much gluten develops, which directly affects your crust’s structure and chewiness.
Yeast is the magical ingredient that makes your dough rise. Instant yeast simplifies the process since it doesn’t require proofing, but active dry yeast works equally well with a little extra time. The yeast feeds on the sugar in your dough, producing carbon dioxide bubbles that create those beautiful air pockets we all love in great pizza crust.
Olive oil adds richness and flavor while helping create a tender crumb. Warm water activates the yeast and brings your dough together. Sugar provides food for the yeast, and salt enhances flavor while controlling yeast activity. Optional additions like garlic powder or dried basil can elevate your dough to new flavor heights.
Step-by-Step Pizza Dough Mastery
Creating perfect pizza dough is more art than science, but following a proven method ensures success. The process begins with combining your dry ingredients – flour, yeast, sugar, and salt. This initial mixing ensures even distribution of these crucial components.
Adding olive oil and warm water transforms your dry mixture into a cohesive dough. The temperature of your water matters significantly – too hot and you’ll kill the yeast, too cold and it won’t activate properly. Aim for water that feels warm to the touch but not hot.
As you gradually incorporate additional flour, you’ll notice the dough transforming from sticky to elastic. This is when the magic of gluten development begins. The dough should pull away from the sides of the bowl but still feel slightly tacky. This perfect balance ensures your crust will have both structure and tenderness.
The rising process is where patience pays off. Coating your dough ball with olive oil and letting it rest in a warm place allows the yeast to work its magic. Watching your dough double in size is one of the most satisfying moments in home baking. This rise develops flavor and creates that light, airy texture we associate with great pizza.
Expert Tips for Pizza Perfection
After years of pizza-making experiments, I’ve gathered some invaluable tips that can elevate your homemade pizza game. First, don’t rush the rising process. While instant yeast works quickly, giving your dough ample time to develop flavor makes a noticeable difference in the final product.
When shaping your dough, handle it gently to preserve those precious air bubbles. Use your fingertips rather than a rolling pin whenever possible, as this creates a more irregular, artisanal texture. If you do use a rolling pin, roll from the center outward rather than back and forth.
The step of poking holes in your dough before baking might seem minor, but it’s crucial for preventing large bubbles from forming. Use a fork to create small perforations across the surface – this allows steam to escape evenly rather than creating one massive air pocket.
Brushing your crust with olive oil before baking creates that beautiful golden color and adds flavor. This simple step takes your pizza from good to great. Speaking of toppings, while you can certainly use store-bought sauce, consider making your own creamy tomato sauce with hidden veggies for an extra nutritional boost.
Creative Pizza Dough Variations
Once you’ve mastered the basic pizza dough recipe, the possibilities for customization are endless. Consider incorporating whole wheat flour for part of the all-purpose flour to add nutty flavor and extra fiber. For a herb-infused crust, mix in dried oregano, thyme, or rosemary along with your garlic powder.
If you’re feeling adventurous, try adding grated Parmesan cheese directly into your dough mixture. The cheese melts during baking, creating pockets of savory flavor throughout your crust. For a sweeter variation perfect for dessert pizzas, increase the sugar slightly and add a teaspoon of cinnamon.
Your homemade pizza dough isn’t limited to traditional pizza either. Use it to create homemade pizza rolls for quick snacks or party appetizers. The same dough works beautifully for calzones, stromboli, or even as a base for sweet treats when topped with cinnamon sugar.
Troubleshooting Common Pizza Dough Issues
Even experienced bakers encounter challenges with pizza dough occasionally. If your dough isn’t rising, the most common culprit is expired yeast or water that’s too hot. Always check your yeast’s expiration date and use a thermometer if you’re unsure about water temperature.
Sticky dough that’s difficult to handle usually needs more flour. Add it gradually, about a tablespoon at a time, until the dough becomes manageable. Conversely, if your dough is too dry and cracks easily, add water one teaspoon at a time until it reaches the proper consistency.
If your crust turns out tough rather than tender, you may have over-kneaded the dough or used too much flour. Remember that pizza dough should be slightly sticky – embrace the mess! A well-floured surface and lightly floured hands will help you manage the stickiness without compromising texture.
Beyond Pizza: Creative Uses for Your Dough
Your homemade pizza dough is more versatile than you might imagine. Beyond traditional pizza, consider using it for flatbreads to accompany soups like our creamy chicken noodle soup. Roll it thin, brush with olive oil, sprinkle with sea salt, and bake until crisp for the perfect dipper.
For a quick weeknight dinner, shape your dough into individual portions and top with your favorite ingredients for personal pizzas. This approach works wonderfully for families with different taste preferences. Kids especially love being able to customize their own creations.
Don’t forget about dessert possibilities! Spread your dough with Nutella, top with sliced bananas, and bake for a sweet treat. Or create fruit-filled calzones using seasonal berries and a cream cheese filling. The only limit is your imagination.
Storing and Freezing Your Homemade Dough
One of the greatest advantages of making your own pizza dough is the ability to prepare it in advance. After the first rise, you can refrigerate your dough for up to 3 days. The cold fermentation actually develops more complex flavors, making your pizza even better.
For longer storage, freezing is your best friend. Portion your dough into individual pizza-sized balls, wrap tightly in plastic wrap, and freeze for up to 3 months. When ready to use, simply thaw in the refrigerator overnight, then bring to room temperature before shaping and baking.
Having frozen pizza dough on hand means you’re never more than an hour away from homemade pizza. It’s perfect for busy weeknights, unexpected guests, or those moments when pizza cravings strike without warning.
The Joy of Homemade Pizza
Making pizza dough from scratch is about more than just the end result – it’s about the process. The tactile pleasure of working with dough, the anticipation as it rises, the satisfaction of creating something beautiful and delicious with your own hands. These are the moments that make cooking such a rewarding hobby.
Whether you’re making pizza for a family movie night, hosting friends for game day, or simply treating yourself to a homemade meal, your from-scratch dough will elevate the experience. The difference in flavor, texture, and overall quality is noticeable from the first bite.
So roll up your sleeves, dust your counter with flour, and embrace the joyful process of creating homemade pizza dough. Your taste buds – and anyone lucky enough to share your pizza – will thank you for taking the extra step to make it from scratch. Happy baking!
Homemade Pizza Dough
Ingredients
Equipment
Method
- Combine 1 cup (125g) of flour, instant yeast, sugar, and salt in a large bowl. If desired, add garlic powder and dried basil at this point as well.
- Add olive oil and warm water and use a wooden spoon to stir well very well.
- Gradually add another 1 cup (125g) of flour. Add any additional flour as needed, stirring until the dough is forming into a cohesive, elastic ball and is beginning to pull away from the sides of the bowl. The dough will still be slightly sticky but still should be manageable with your hands.
- Drizzle a separate, large, clean bowl generously with olive oil and use a pastry brush to brush up the sides of the bowl.
- Lightly dust your hands with flour and form your pizza dough into a round ball and transfer to your olive oil-brushed bowl. Use your hands to roll the pizza dough along the inside of the bowl until it is coated in olive oil, then cover the bowl tightly with plastic wrap and place it in a warm place.
- Allow dough to rise for 30 minutes or until doubled in size. If you intend to bake this dough into a pizza, I also recommend preheating your oven to 425°F (215°C) at this point so that it will have reached temperature once your pizza is ready to bake.
- Once the dough has risen, use your hands to gently deflate it and transfer to a lightly floured surface and knead briefly until smooth (about 3-5 times).
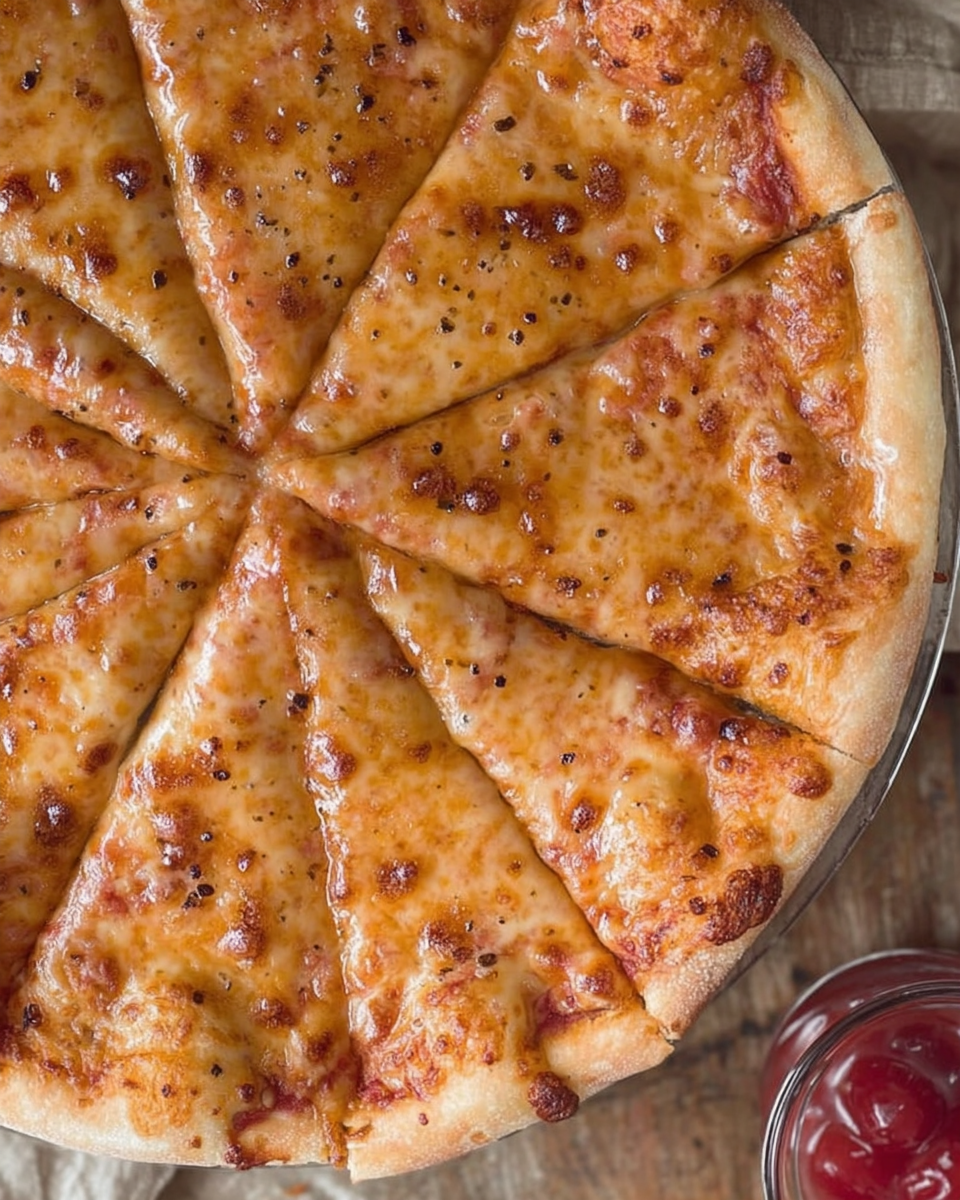
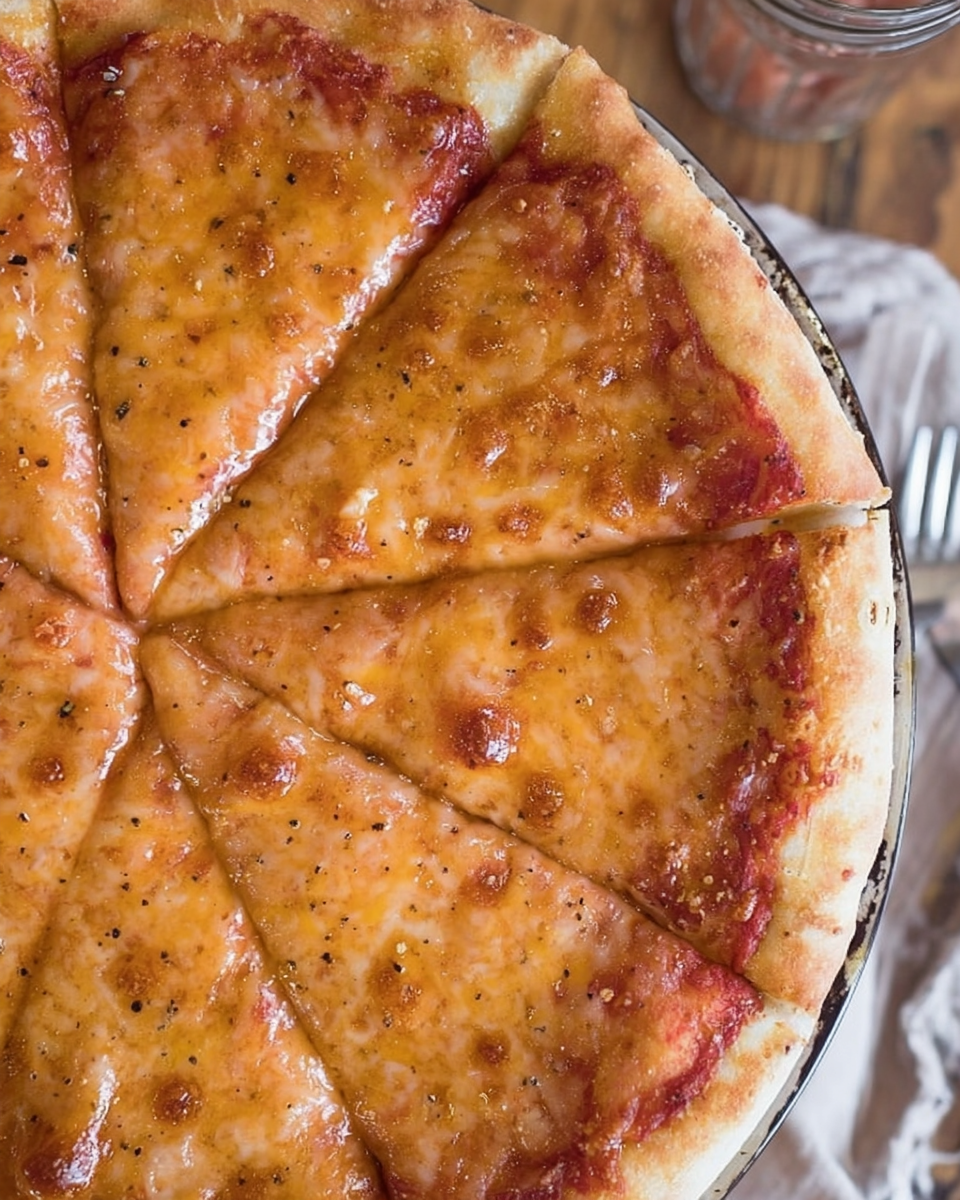
- Use either your hands or a rolling pin to work the dough into 12″ circle.
- Transfer dough to a parchment paper lined pizza pan and either pinch the edges or fold them over to form a crust.
- Drizzle additional olive oil (about a Tablespoon) over the top of the pizza and use your pastry brush to brush the entire surface of the pizza (including the crust) with olive oil.
- Use a fork to poke holes all over the center of the pizza to keep the dough from bubbling up in the oven.
- Add desired toppings and bake in a 425°F (215°C) preheated oven for 13-15 minutes or until toppings are golden brown. Slice and serve.