Delicious Hanukkah Chocolate Bark
Delicious Hanukkah Chocolate Bark
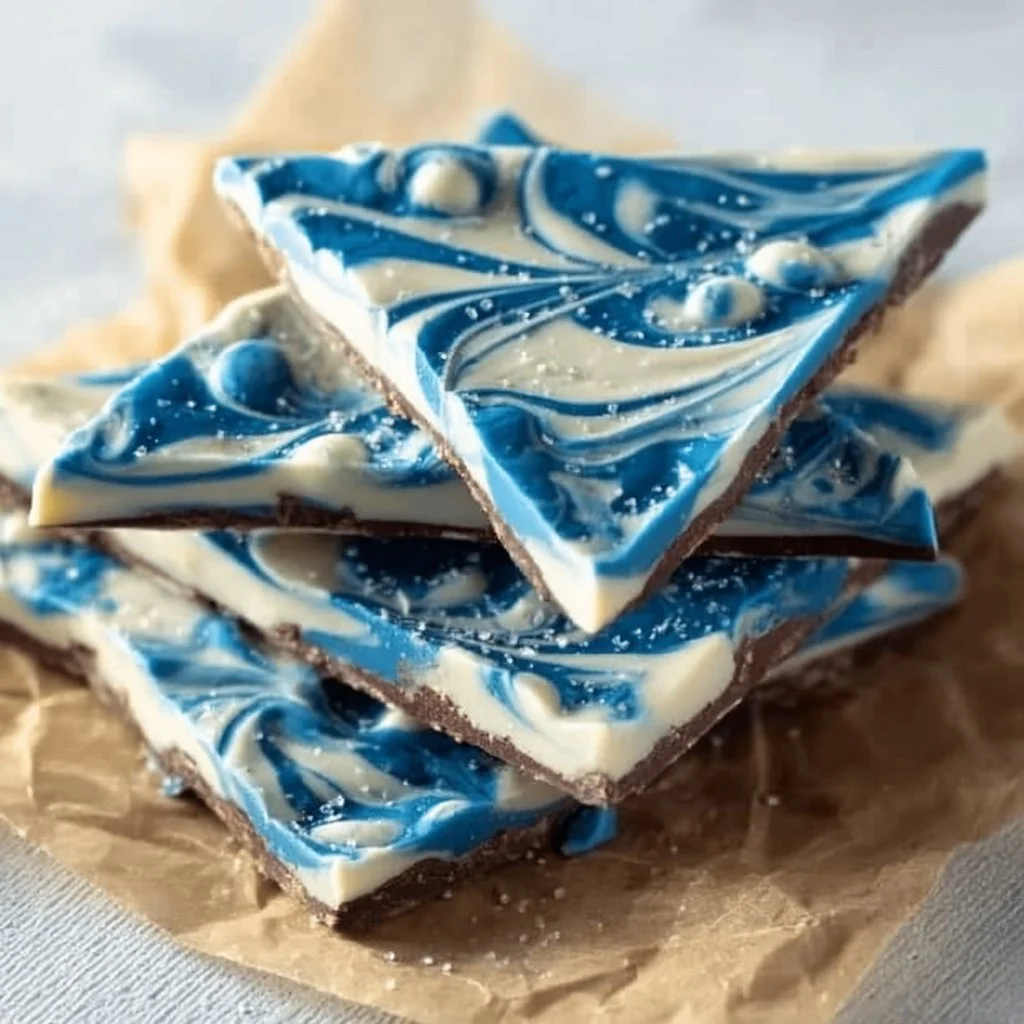
Hanukkah is a time of joy, celebration, and delicious food. One delightful treat that can add sweetness to your celebrations is Hanukkah Chocolate Bark. This simple and fun recipe combines colorful candy melts, swirls of contrasting colors, and sparkling sprinkles, all capturing the festive spirit of the holiday. Whether you’re looking for a treat to enjoy with family or a fun activity with kids, this chocolate bark is the perfect addition to your Hanukkah festivities.
Why Make This Recipe
Making Hanukkah Chocolate Bark is not only easy and enjoyable; it’s also a visually stunning treat that can serve as a lovely gift or decoration during the holiday season. The vibrant blue colors symbolize the traditional aspects of Hanukkah while the white pearl sprinkles add a festive touch, making it a gorgeous dessert that embodies the spirit of the Festival of Lights.
This recipe allows for creativity in the kitchen while adding a personal touch. It doesn’t require any advanced baking skills, meaning that anyone can whip up a batch. This makes it a perfect choice for families with children wanting to embrace the spirit of the season. In addition, it is a versatile treat that can be easily adapted to suit different tastes and preferences. So gather your ingredients, roll up your sleeves, and let’s get started on this delightful Hanukkah Chocolate Bark!
How to Make Hanukkah Chocolate Bark
Creating Hanukkah Chocolate Bark is straightforward and fun. Below you will find a detailed list of ingredients and step-by-step directions to guide you through the entire process.
Ingredients
- 30 ounces vanilla candy melts
- 1 bottle light blue food gel coloring
- 1 bottle dark blue food gel coloring
- 1 cup white pearl sprinkles
Directions
-
Gather Your Ingredients
Before you begin, gather all your ingredients and tools. You will need a baking sheet, parchment paper, a microwave-safe bowl, and a spatula. Having everything ready will make the process smoother and more enjoyable. -
Line the Baking Sheet
Take a baking sheet and line it with parchment paper. This will prevent the chocolate from sticking and make it easier to remove the bark later. -
Melt the Candy Melts
Place the vanilla candy melts in the microwave-safe bowl. Microwave in 30-second intervals, stirring after each round until smooth. Be sure to watch closely to avoid burning the melts. -
Add Food Colorings
Divide the melted candy melts into two bowls. Add light blue food coloring to one bowl and dark blue coloring to the other. Stir until the color is evenly distributed. -
Spread the Mixture
Pour the light blue candy melt mixture onto the lined baking sheet. Use a spatula to spread it evenly across the surface, making it as thick as you prefer. -
Swirl the Dark Blue
Next, pour the dark blue mixture on top of the light blue layer. Using a spatula or a toothpick, swirl the two color layers gently together to create a beautiful marbled effect. -
Add the Sprinkles
Before the chocolate sets, sprinkle the white pearl sprinkles generously on top. This step not only enhances the appearance but adds a delightful crunch to the bark. -
Let It Set
Refrigerate the baking sheet for about 30 minutes or until the chocolate hardens completely. This might take a little longer if your kitchen is warm. -
Break Into Pieces
Once set, remove the bark from the refrigerator. Carefully lift it off the parchment paper and break it into pieces of your desired size.
How to Serve Hanukkah Chocolate Bark
Hanukkah Chocolate Bark can be served in various ways. Here are some ideas for serving this festive treat:
- On a Snack Table: Place the broken pieces in a decorative bowl on a table with other holiday snacks and treats.
- Gift Bags: Wrap pieces of chocolate bark in clear cellophane bags tied with blue ribbons for easy gifts for friends and family.
- Dessert Platter: Serve it alongside other Hanukkah desserts to create a themed dessert platter featuring various flavors and textures.
You can even place it on a festive plate adorned with dreidels or blue and silver decorations to add to the holiday charm.
How to Store Hanukkah Chocolate Bark
Storing Hanukkah Chocolate Bark is simple and can help maintain its freshness and flavor. Here’s how you can keep it well-preserved:
- In an Airtight Container: Once the bark has completely set and is broken into pieces, store it in an airtight container at room temperature. This will keep it fresh for several weeks.
- Avoid Heat: Keep the container in a cool, dry place away from sunlight, as heat can cause the chocolate to melt or become too soft.
- Refrigeration: If you live in a very warm climate, you may want to refrigerate the bark. Just make sure it is sealed tightly to prevent moisture from getting in.
If stored properly, Hanukkah Chocolate Bark can last up to three weeks, making it a great treat for enjoying throughout the holiday season or sharing with family and friends.
Tips to Make Hanukkah Chocolate Bark
Creating the perfect Hanukkah Chocolate Bark can be achieved with a few helpful tips:
- Quality Chocolate Melts: Use good-quality candy melts for the best flavor and texture. Cheap versions may not melt as nicely.
- Coloring: When adding food colorings, start with a small amount and gradually increase until you reach your desired color. This gives you better control over the final shade.
- Swirling Technique: For a more defined swirl effect, use a toothpick instead of a spatula. This can create stunning patterns in the bark.
- Add-Ins: Feel free to get creative with add-ins! You can mix in nuts, dried fruits, or even mini marshmallows before the chocolate sets for added texture and flavor.
- Chill Before Cutting: If your kitchen is warm, consider putting the chocolate bark in the freezer for a short time to firm it up more quickly before breaking it into pieces.
Variation
While this Hanukkah Chocolate Bark recipe is delicious on its own, there are a few variations you can try to switch things up:
- Different Colors: Instead of using blue food coloring, try other colors that resonate with the holiday theme, such as silver or gold edible glitter, or create multi-colored layers with different flavors of candy melts.
- Flavor Enhancements: Incorporate flavored chocolate melts instead of vanilla, like white chocolate or milk chocolate for a different taste.
- Custom Sprinkles: You can use themed sprinkles, such as blue and silver stars or menorah-shaped candies, to elevate the decorations and make it even more festive.
FAQs
What if I don’t have food gel coloring?
You can use regular food coloring, but be cautious as it may affect the consistency of the chocolate melts. Start with a small amount and gradually add more until you reach your desired color.
Can I use chocolate chips instead of candy melts?
Yes, you can use chocolate chips, but keep in mind that they may not melt as smoothly as candy melts. You might consider adding a small amount of shortening or coconut oil to help them melt more evenly.
How do I know if the chocolate is fully melted?
Watch for a glossy appearance. The chocolate should move smoothly and easily when stirred. If it still has lumps, continue to microwave in short intervals until it’s perfectly melted.
Can I make this chocolate bark dairy-free?
Yes, you can look for dairy-free candy melts or chocolate chips to create a versions suitable for those with dairy sensitivities.
How long does the chocolate bark stay fresh?
When stored properly in an airtight container, this chocolate bark can stay fresh for up to three weeks if kept in a cool, dry place or refrigerated.
With all this information, you’ll have no trouble whipping up a batch of Delicious Hanukkah Chocolate Bark. It’s a fun, festive way to celebrate the holiday season, share with loved ones, and, of course, indulge in delightful treats! So roll up your sleeves in the kitchen and let the happiness of Hanukkah bloom through this creation. Enjoy every bite and the sweet moments they bring.