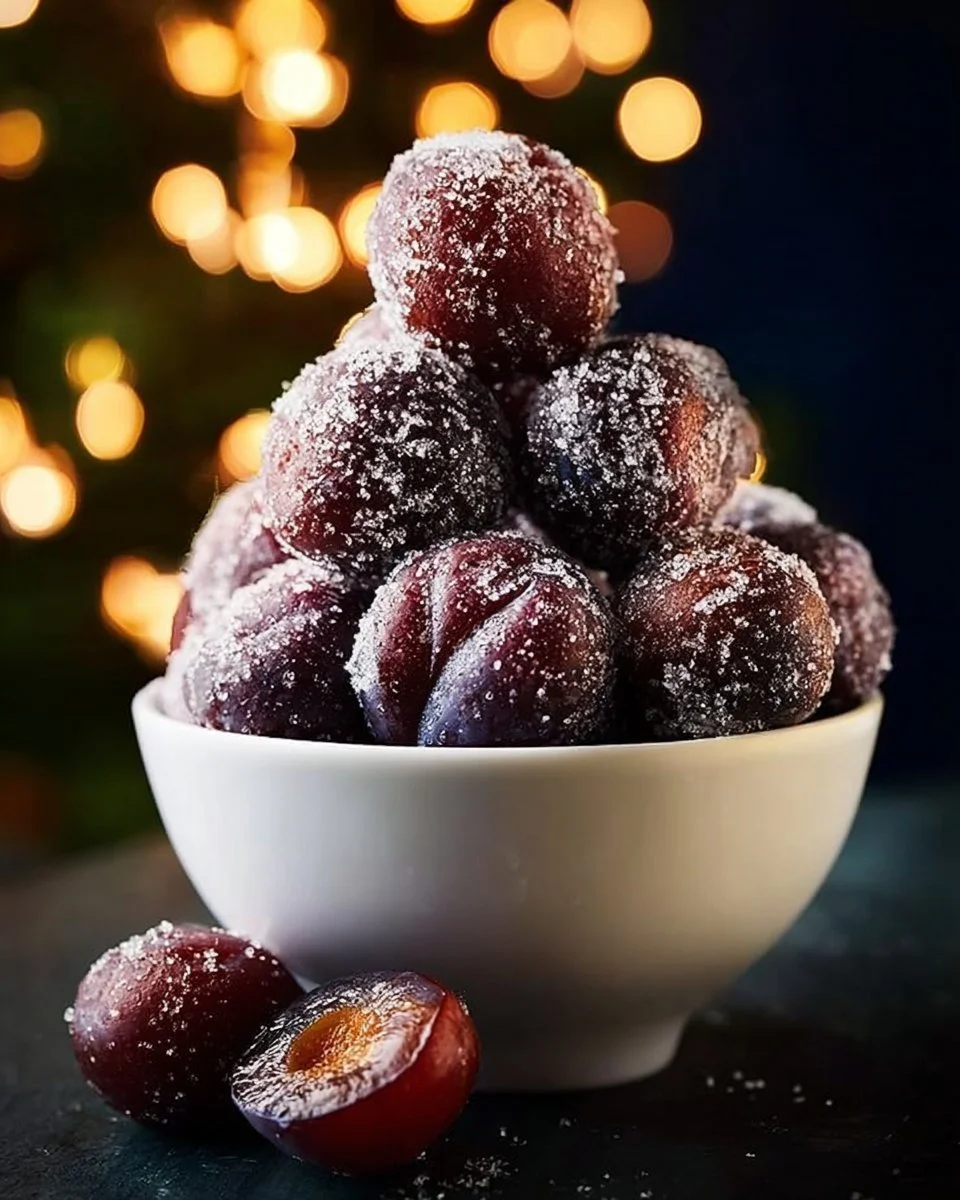
Homemade Sugar Plums
Why Make This Recipe
Homemade sugar plums are delightful little bites that pack a burst of flavor into every morsel. You might be wondering why you should take the time to make these sweet treats in your own kitchen. For starters, homemade sugar plums are much healthier than store-bought options. By choosing your own ingredients, you can control the sugar content and ensure there are no preservatives or artificial flavors. These sweet treats are a combination of nuts, dried fruits, and spices, making them an excellent source of nutrients and energy.
Another reason to whip up a batch of homemade sugar plums is their nostalgic charm. These treats have a rich history and are often associated with holiday traditions. Making them at home allows you to create your own traditions and memories with family and friends. Whether you’re preparing for a holiday gathering or simply looking for a unique snack, sugar plums fit the bill perfectly.
Plus, they are incredibly easy to make! With just a handful of ingredients and a few simple steps, you can create a delightful treat that impresses everyone. The combination of flavors is truly special; the sweet dried fruits blend beautifully with the spices and nuts, creating a satisfying and wholesome snack option. It’s a simple way to bring joy to your home.
How to Make Homemade Sugar Plums
Making homemade sugar plums is a fun and straightforward process. This recipe takes a few simple ingredients and turns them into delicious treats that everyone will love. Here’s how to do it.
Ingredients:
- 1 cup Almonds
- 1/2 cup Honey
- 1 cup Dried Plums (Prunes)
- 1 tablespoon Orange Zest
- 1 teaspoon Cinnamon
- 1/2 teaspoon Fresh Nutmeg
- 1/2 teaspoon All-Spice
- 1 teaspoon Vanilla Extract
- 1/2 cup Dried Cranberries
- 1/2 cup Dried Cherries
Directions:
-
Preheat the Oven: Start by preheating your oven to 350°F (175°C). This is important for toasting your almonds perfectly.
-
Toast the Almonds: Place the almonds on a baking sheet and toast them in the oven for about 10-12 minutes or until they are golden. Keep an eye on them to prevent burning!
-
Chop the Almonds: Once the almonds are toasted and cooled, chop them coarsely. This helps to release their flavor and makes them easier to mix with the other ingredients.
-
Mix Ingredients: In a large mixing bowl, combine the chopped almonds with dried plums, dried cranberries, and dried cherries. Add in the orange zest, cinnamon, fresh nutmeg, all-spice, and vanilla. This blend of flavors creates a wonderful aroma!
-
Add Honey: Drizzle honey over the mixture. Using your hands, mix everything together until well combined. Don’t hesitate to dive in; your hands are the best tool for this job!
-
Form the Balls: Take small portions of the mixture—about one tablespoon each—and roll them into balls. Set these on a tray lined with parchment paper. This makes it easy to remove them later.
-
Chill: Place the tray in the refrigerator and chill for at least 30 minutes. This helps the shapes hold better while enhancing the flavors.
-
Serve or Store: Once chilled, your sugar plums are ready to enjoy! You can serve them immediately or store them in an airtight container for later.
How to Serve Homemade Sugar Plums
Serving homemade sugar plums is simple and delightful! They make excellent snacks for any occasion. Here are a few ideas for how to serve them:
-
Snack Time: Place sugar plums in a bowl on the coffee table for guests to munch on while they chat. They are great finger foods!
-
Gifts: Pack sugar plums in pretty bags or jars to give as gifts during holidays or special occasions. They make thoughtful presents that show you care.
-
Dessert Platter: Include sugar plums on a dessert platter alongside other sweets during a gathering. They add a touch of color and elegance to your table.
-
Healthy Treat: Enjoy them as an energy-boosting snack after a workout or during the afternoon slump. They provide a nice balance of carbs and protein.
How to Store Homemade Sugar Plums
Storing homemade sugar plums properly ensures they maintain their flavor and freshness. Here’s how to do it:
-
Airtight Container: Place your cooled sugar plums in an airtight container to keep moisture and air out. This prevents them from becoming stale.
-
Cool and Dry Place: Store the container in a cool, dry place away from direct sunlight. A pantry or cupboard works well for this.
-
Refrigeration: If you live in a warm climate, or plan to keep the sugar plums for an extended period, it’s best to refrigerate them. Just make sure to use a sealed container.
-
Freezing: For longer storage, you can freeze sugar plums. Place them on a baking sheet until frozen, then transfer them to a freezer-safe bag. They can last for up to three months this way.
Tips to Make Homemade Sugar Plums
Making sugar plums can be fun, but a few tips can make the process even smoother!
-
Measure Accurately: Ensure you measure your ingredients accurately for the best results. Too much or too little of something can change the texture.
-
Adjust Sweetness: If you prefer a sweeter sugar plum, feel free to add more honey or a touch of maple syrup. Taste as you mix until the flavor suits you.
-
Texture Variations: If you enjoy different textures, try leaving some almonds in larger pieces or experimenting with chopped nuts like walnuts or pecans.
-
Spice It Up: Don’t be afraid to play with the spices! You can add cardamom, ginger, or even a pinch of cayenne for a spicy kick.
-
Experiment with Dried Fruits: Feel free to substitute dried fruits based on what you have on hand. Apricots, figs, or dates can be great in this recipe.
Variation
While the classic combination is delicious, you can easily modify your homemade sugar plums to keep things interesting. Here are a few variations:
-
Chocolate-Covered Sugar Plums: After they have been chilled and formed, dip each sugar plum in melted dark or white chocolate. This adds richness and decadence.
-
Coconut Sugar Plums: Roll the finished sugar plums in desiccated coconut instead of keeping them plain. This gives them an extra tropical and fun aspect.
-
Nut-Free Version: If you have nut allergies, you can replace the almonds with seeds such as sunflower or pumpkin seeds. The flavor and texture will still be wonderful.
FAQs
1. How long do homemade sugar plums last?
Homemade sugar plums can last up to two weeks when stored properly in an airtight container at room temperature. If refrigerated, they might stay fresh for a bit longer, even up to one month. When frozen, they can last for three months.
2. Can I use fresh fruit instead of dried fruit?
Using fresh fruit isn’t recommended for sugar plums. Dried fruits are essential for this recipe because they help the mixture hold together. Fresh fruits contain too much moisture and will alter the texture.
3. Are sugar plums healthy?
Yes! Homemade sugar plums are a nutritious treat packed with healthy fats, vitamins, and minerals from the dried fruits and nuts. They provide natural sweetness and energy, making them a healthier choice compared to many processed snacks.
4. Can I make sugar plums in advance for a party?
Absolutely! Sugar plums can be made a few days in advance. Just store them properly in an airtight container to keep them fresh for your event.
5. What can I serve sugar plums with?
Sugar plums pair well with a variety of snacks! You can serve them alongside cheese, yogurt, or nuts. They also complement tea or coffee nicely, making them a perfect afternoon snack.
With their sweet and satisfying taste, homemade sugar plums are sure to become a favorite in your home. Enjoy making them, sharing them, and indulging in their delightful flavors!