Cocoa Ribbon Cookies
Why Make This Recipe
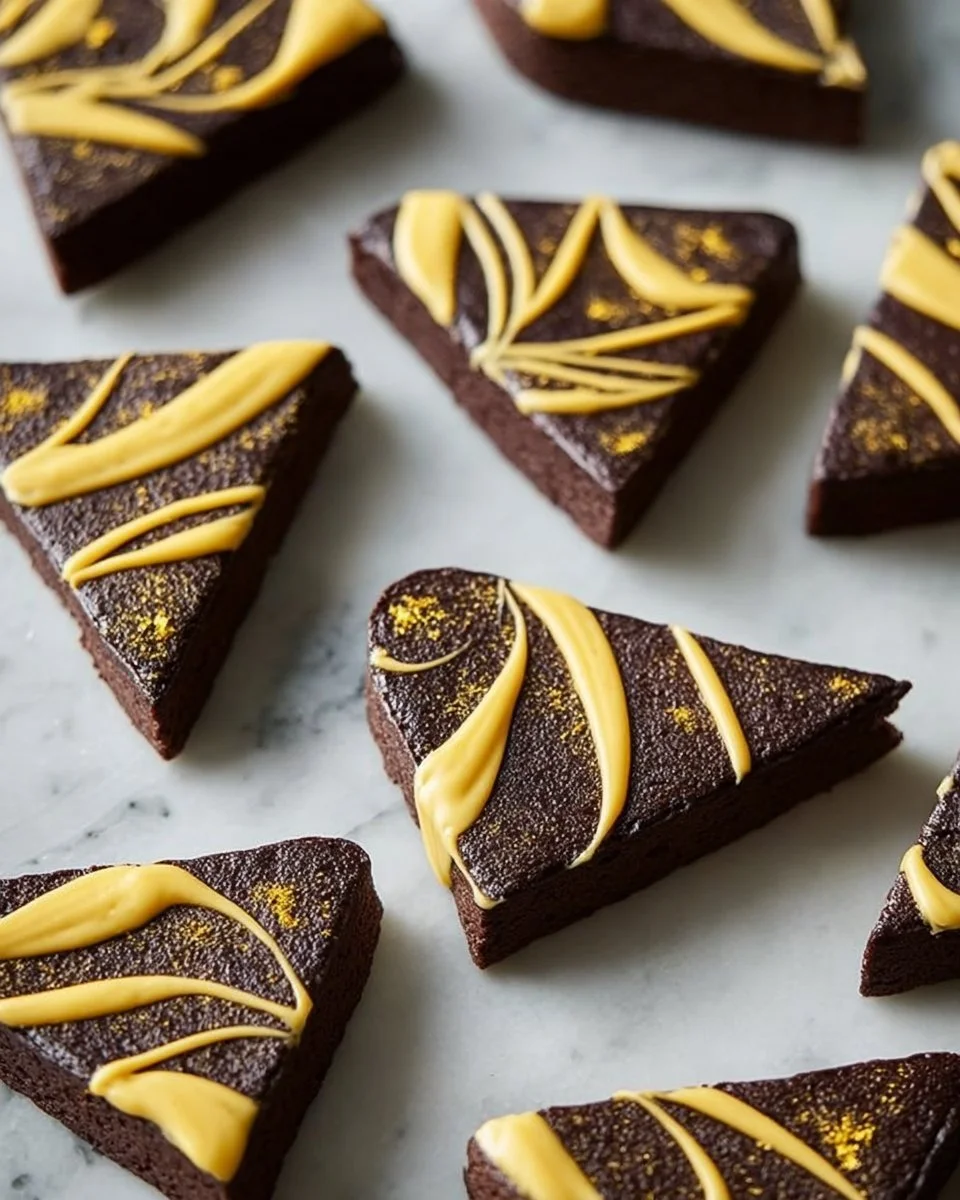
Cocoa Ribbon Cookies are not just any ordinary treat; they are a delightful combination of rich chocolate and refreshing citrus flavors. These cookies stand out with their unique ribbon design, which not only makes them visually appealing but also adds a layer of texture and taste. The blend of dark chocolate with the zest and juice of orange creates a balance that excites the palate. They are perfect for holiday gatherings, afternoon teas, or simply a sweet snack to enjoy at home. Plus, if you’re keen on trying your hand at baking, making these cookies is a fun and rewarding experience!
Whether you’re baking for yourself or sharing them with family and friends, Cocoa Ribbon Cookies are sure to impress. The beautiful layers will grab attention, while the taste will win hearts.
How to Make Cocoa Ribbon Cookies
Creating Cocoa Ribbon Cookies is a step-by-step journey that transforms simple ingredients into a delicious, eye-catching treat. Each step is clear and straightforward, ensuring that even novice bakers can succeed. Here’s how to make them:
Ingredients
To make Cocoa Ribbon Cookies, gather the following ingredients:
- 8 tablespoons Unsalted butter (softened)
- 3 ounces Dark chocolate (melted)
- 5 medium Oranges (zest and juice)
- 1 cup Granulated sugar
- 1/2 teaspoon Kosher salt
- 1/4 cup Extra-virgin olive oil
- 1/4 cup Sour cream
- 2 cups All-purpose flour (divided)
- 2 tablespoons Dutch-processed cocoa powder
- 4 ounces Dark chocolate (melted for drizzling)
- 1 tablespoon Granulated sugar (for topping)
- Flaky salt (for sprinkling)
- 1/4 medium Orange (for garnish)
Directions
Follow these directions closely, and you will create delightful Cocoa Ribbon Cookies:
-
Preheat Your Oven: Start by preheating your oven to 350°F (175°C). Line a baking sheet with parchment paper to prevent sticking and make cleanup easier.
-
Cream Butter: In a large mixing bowl, beat 8 tablespoons of softened unsalted butter until it becomes creamy. This helps incorporate air, making your cookies light and fluffy.
-
Add Sugar: Gradually add 1 cup of granulated sugar to the butter, mixing until smooth and well combined.
-
Melt Chocolate: Melt 3 ounces of dark chocolate using a microwave or double boiler until smooth. Be careful not to overheat it, as this can lead to burning. Mix the melted chocolate into the butter and sugar mixture.
-
Prepare Oranges: Zest three oranges, and squeeze the juice from two of them. Make sure to add both the zest and juice to the mixture for bright flavor.
-
Incorporate Olive Oil and Sour Cream: Stir in 1/4 cup of extra-virgin olive oil and 1/4 cup of sour cream. This combination adds moisture and a richer flavor to the cookies.
-
Mix Dry Ingredients: In another bowl, whisk together 2 cups of all-purpose flour (reserve 1/2 cup for adjustments), 2 tablespoons of Dutch-processed cocoa powder, and 1/2 teaspoon of kosher salt.
-
Combine Wet and Dry Ingredients: Gradually add the dry mixture to the wet mixture, stirring until just combined. If the dough feels sticky, add the reserved 1/2 cup of flour, a little at a time, until you reach a workable consistency.
-
Divide Dough: Divide the dough into two halves. Take one half and mix in the cocoa powder thoroughly, ensuring it takes on a rich chocolate flavor.
-
Roll Out the Dough: Roll out both halves of the dough into rectangles on a floured surface. Aim for even thickness so that they bake uniformly.
-
Layer the Dough: Place the plain dough rectangle on top of the cocoa dough rectangle. Press them gently together and then roll tightly from one end to create a log shape.
-
Chill: Wrap the rolled log in plastic wrap and chill in the refrigerator for about 30 minutes. This step helps the dough firm up for easier slicing.
-
Slice the Cookies: After chilling, slice the log into 1/4-inch thick cookies. Place the slices on the prepared baking sheet, leaving some space between them to allow for spreading.
-
Bake: Bake in the preheated oven for 10-12 minutes or until the cookies look firm yet slightly soft. They will continue to harden as they cool.
-
Drizzle with Chocolate: Once the cookies have cooled, melt the remaining 4 ounces of dark chocolate, then drizzle it over the cookies for an extra decadent touch.
-
Add Finishing Touches: While the chocolate is still warm, sprinkle 1 tablespoon of granulated sugar and some flaky salt on top. This adds a delightful crunch and counterbalances the sweetness.
-
Garnish: Use the leftover orange section to garnish; this adds a fresh touch and makes the cookies visually appealing.
How to Serve Cocoa Ribbon Cookies
These cookies can be served in many delightful ways. They can be enjoyed straight from the oven, when they are warm and the chocolate drizzle is still gooey. Pair them with a hot beverage like coffee or tea for a cozy afternoon snack. For a more festive presentation, arrange them on a decorative platter, sprinkle some extra flaky salt on top, and garnish with orange slices. This presentation can elevate the cookies for special events like holiday parties or birthdays.
Cocoa Ribbon Cookies also make a fantastic gift. Simply place them in a cookie box or jar and tie a ribbon around it. This makes them thoughtful gifts for friends, family, or colleagues.
How to Store Cocoa Ribbon Cookies
Proper storage is essential to maintain the freshness and texture of your Cocoa Ribbon Cookies. Here’s how to store them:
-
At Room Temperature: You can keep these cookies in an airtight container at room temperature for up to a week. Make sure the cookies are completely cooled before sealing them in the container to avoid condensation.
-
In the Refrigerator: If you want to keep them fresher for a longer time, you can store them in the refrigerator for up to two weeks. Just be mindful that the texture may change slightly due to the cooler temperature.
-
Freezing: For longer storage, Cocoa Ribbon Cookies can be frozen. Arrange them in a single layer on a baking sheet, freeze until solid, then transfer them to a freezer-safe bag or container. They can be stored this way for up to three months. When ready to enjoy, simply thaw them out at room temperature.
Tips to Make Cocoa Ribbon Cookies
To ensure your Cocoa Ribbon Cookies turn out perfectly every time, here are some handy tips:
-
Room Temperature Ingredients: Ensure your butter and eggs are at room temperature before beginning. This helps the ingredients mix together more smoothly.
-
Melt Chocolate Carefully: When melting chocolate, avoid overheating. If using a microwave, do it in short bursts (15-30 seconds) and stir between each interval.
-
Use Good Quality Cocoa Powder: The quality of cocoa powder can significantly affect the flavor of your cookies. Opt for a good-quality Dutch-processed cocoa powder for depth of flavor.
-
Chill the Dough: If you find the dough too soft to roll out, you can chill it for longer. This makes it easier to handle.
-
Even Thickness: While rolling out, try to maintain even thickness throughout. This ensures that all cookies bake uniformly.
-
Check Doneness Carefully: Ovens can vary in temperature. Keep an eye on the cookies and start checking them a minute or two early, as you want them to be just set.
Variation
Cocoa Ribbon Cookies are versatile, and you can easily adapt them to fit your taste preferences. Here are a few ideas for variations:
-
Nutty Addition: Fold in some chopped nuts such as walnuts or pecans into the dough. This adds a delightful crunch and a different flavor profile.
-
Spiced Up: Add spices like cinnamon, nutmeg, or cardamom to the dough to infuse a warming spice flavor that pairs beautifully with chocolate.
-
Other Citrus: Instead of orange, you can use lemon or lime zest and juice for a tangy twist. This can give the cookies a unique and refreshing taste.
-
Fillings: Insert a small bit of jam or chocolate chip into the center of each cookie before baking for a delicious surprise.
FAQs
1. Can I make these cookies ahead of time?
Yes! You can prepare the dough in advance and chill it in the refrigerator for up to a week before baking. If you want to save it for longer, you can freeze the rolled log and just slice and bake them when you’re ready.
2. What if I don’t have olive oil?
If you don’t have olive oil, you can substitute it with another neutral oil, like canola oil or vegetable oil. Each type of oil may slightly affect the flavor, but they will work just fine.
3. Can I use milk chocolate instead of dark chocolate?
Absolutely! If you prefer a sweeter taste, milk chocolate can be used. Keep in mind that the flavor will be different, but it will still be delicious.
4. How can I make these cookies gluten-free?
You can substitute all-purpose flour with a gluten-free flour blend. Ensure that the blend you choose can be used as a 1:1 replacement for regular flour.
By following this guide, you will be well on your way to creating delicious Cocoa Ribbon Cookies that not only taste great but also look stunning. They are bound to become a favorite in your baking repertoire! Happy baking!